Taking the next step in making loops is wrapping a loop once it’s made. It makes a strong wire connection when linking beads together using this technique. Generally, the professional number of wraps is three.
You’ll need these supplies:
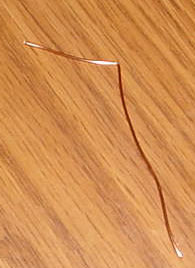
- wire
You’ll need these tools:
- Bent nose or chain nose pliers
- round nose pliers
- flush cutter
Directions for this Tutorial:
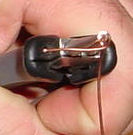
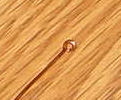
1.) About 1″(depending on the gauge of wire) from the end of the wire bend it to a 90 degree angle using your chain nose pliers.
2.) Grasp your round nose pliers at the bend of the wire and push the wire up and around the top of the pliers.
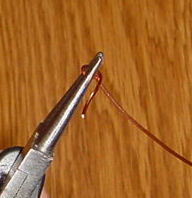
3.) Grasp the wire with your chain nose pliers and bring it down and around until it points towards you.
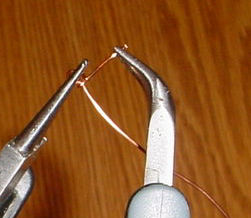
4.) Hold your round nose pliers so that they are vertical and the wire points towards you and to the right. Grasp the end of the wire that is pointing towards you and wrap it around the wire that is pointing to the right. Do half a wrap, let go of the wire with your chain nose pliers and grab it again on the other side of the wire. Do not wrap in full circles. If you do not understand – try it once, you will. You get a cleaner wrap if you wrap in half circles. Note: you want to wrap pulling the wire away from you, otherwise you may hurt yourself if your pliers slip.
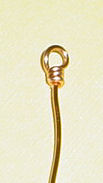
5.) Continue until you have three wraps. Trim with flush cutters. Enjoy!
Look for Supplies on Amazon:
Jewelry Making Supply Tools & Kits
Jewelry Making Charms
Jewelry Making Beads
Jewelry Making Ear Wires
Jewelry Making Spacer Beads
You May Also Like These Projects:
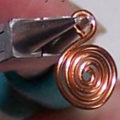 Make a Wire Wrapped Spirals Wire Wrap Bead Jewelry
 Make an Eye Loop or Eye Pin Wire Wrap Jewelry
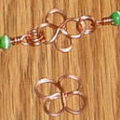
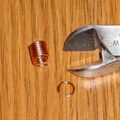 Make a Wire Jumpring Wire Wrap Jewelry
 Wire Wrap Jewelry How to Make a Double Wrapped Bead Link
 How to Make a Clover Clasp Wire Wrapped Jewelry Tutorial
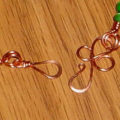
 How to Make a Clover Link Wire Wrapped Jewelry Tutorial
 Wrapped Ease Wire Wrap Jewelry
 Wire Wrapped Coral and Mother of Pearl Earrings – Free Pattern
 Wire Wrapped Double Swirls Beaded Earrings
 Wire Wrapped Double Bead Triangle Earrings