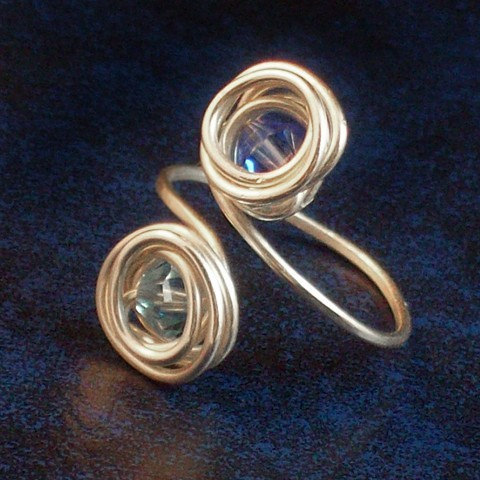
Lots of coiling and sweet little beads in this free wire ring project. Beautiful design!
You’ll need these supplies:
- approx 10-inches 20 gauge wire; silver
- 36-inches of 22 or 24 gauge wire
- 30 beads; 2mm silver beads
You’ll need these tools:
- wire cutters; flush cutters
- Round nose pliers
- Bent nose or chain nose pliers
- Anvil
- Hammer
- Ring mandrel
- File
Directions for this Tutorial:
1. Be sure that both ends of your wire are cut with flush cutters.
2. Make a small loop at one end of the 20 gauge wire. Holding that loop to the front of the ring mandrel, wrap the wire around the mandrel at the mark of one size larger than you want your ring to be.
3. Wrap the wire three times and make a small loop on the other end, so that the loops are centered on top of each other. Trim the wire.
4. Using the 22 or 24 gauge wire, start coiling one of the loops. When done, coil the wire that is attached to the loop and the wire next to it also add a bead. Repeat 7 times.
5. Coil the single wire all the way around the back coming up to the front, switch and coil the wire and the one below it while adding a bead.
6. Add a total of 14 beads, half under the first set of beads you coiled.
7. Coil the single wire all the way around the back again. Coming up to the front, switch and coil the wire and the one below it while adding a bead for 7 beads.
8. Coil the second loop. Trim the end.
9. Size the ring. Tap on the mandrel using your hammer to harden.
Look for Supplies on Amazon:
Jewelry Making Supply Tools & Kits
Jewelry Making Charms
Jewelry Making Beads
Jewelry Making Ear Wires
Jewelry Making Spacer Beads
You May Also Like These Projects:
 Wire Wrapping Jewelry – Many Beads Wire Ring Project
 Wire Wrapping Jewelry – Rough Stone Wire Ring Project
 Wire Wrapping Jewelry – Expandable Bead and Wire Ring Project
 Wire Wrapping Jewelry – Three Wrap Wire Ring Project
 Wire Wrapping Jewelry – S Coil Wire Ring Project
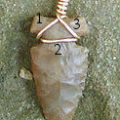 Wire Wrapping Jewelry – Make Wire Wrapped Arrowhead Pendant Project
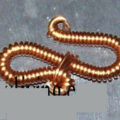 Wire Wrapping Jewelry – Wrap a Wire Coil S Clasp Project
 Wire Wrapping Jewelry – Wire Topped Topaz Raindrops Bead Earrings Project
 Wire Wrapping Jewelry – Golden Roses Wire Wrapped Necklace Project
 Wire Wrapping Jewelry – Golden Shell Bead Necklace Project