The Chinese Snake Knot is one of my favorites. It can be used in almost any type of knot tying project, it’s very secure and looks awesome. While often tricky to learn, once you have the knack of it, it’s very simple to do. With this in mind I took a lot of pictures and I’ll go very slow with my step-by-step directions.
Loop the right-hand cord around the left-hand cord by going under, then over and through. Leave this loop loose.
Loop the left-hand cord around the right-hand cord by going on top then under all of the next set of cords and then through the first loop.
Tighten the knot so that you see that you’ve made it correctly. Do not pull too tight.
Take the cord on the right and make a loop around the left-hand cord by going under, then over and threaded through the knot as shown in the picture.
Tighten the knot and see if it matches the picture. If it does you’ve done the knot correctly so far. Getting the snake knot started is the hardest part.
Turn the knot over.
Loosen the second loop in the knot. Using the right-hand side cord, loop around the left-hand side cord by going under then over and down through the loosened loop.
Tighten and you have made your knot. Repeat steps #7 through #9 to make a snake knot cord for knot tying projects.
You May Also Like These Projects:
 Snake Knot Tying Bookmark Craft Project for Teens
Make a Snake Knot Necklace Teen Craft
Snake Knot Tying Bookmark Craft Project for Teens
Make a Snake Knot Necklace Teen Craft
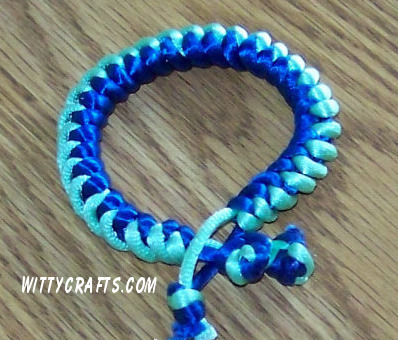 Make a Snake Knot Bracelet Teen Craft
Snake Knot Key Chain Craft Project for Teenagers
Make a Snake Knot Bracelet Teen Craft
Snake Knot Key Chain Craft Project for Teenagers
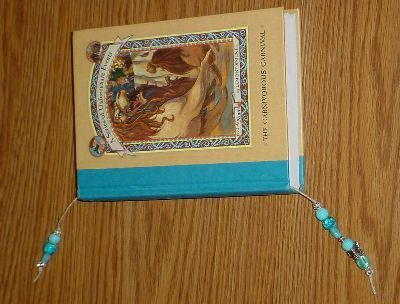 Beaded Bookmark Craft for Teens
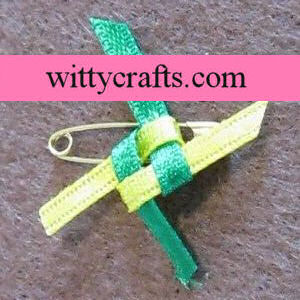 Friendship Knot Girl Scout SWAP Ideas
Bracelet Crafts Ideas for Teens
Friendship Knot Girl Scout SWAP Ideas
Bracelet Crafts Ideas for Teens
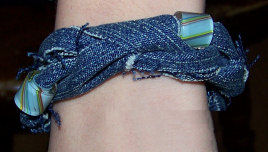 Jean Bracelet Craft for Teens
 Make an Ugly Doll Teen Craft